POSTS
Semantic Segmentation on an AMD RADEON GPU with Tensorflow1.3
Introduction
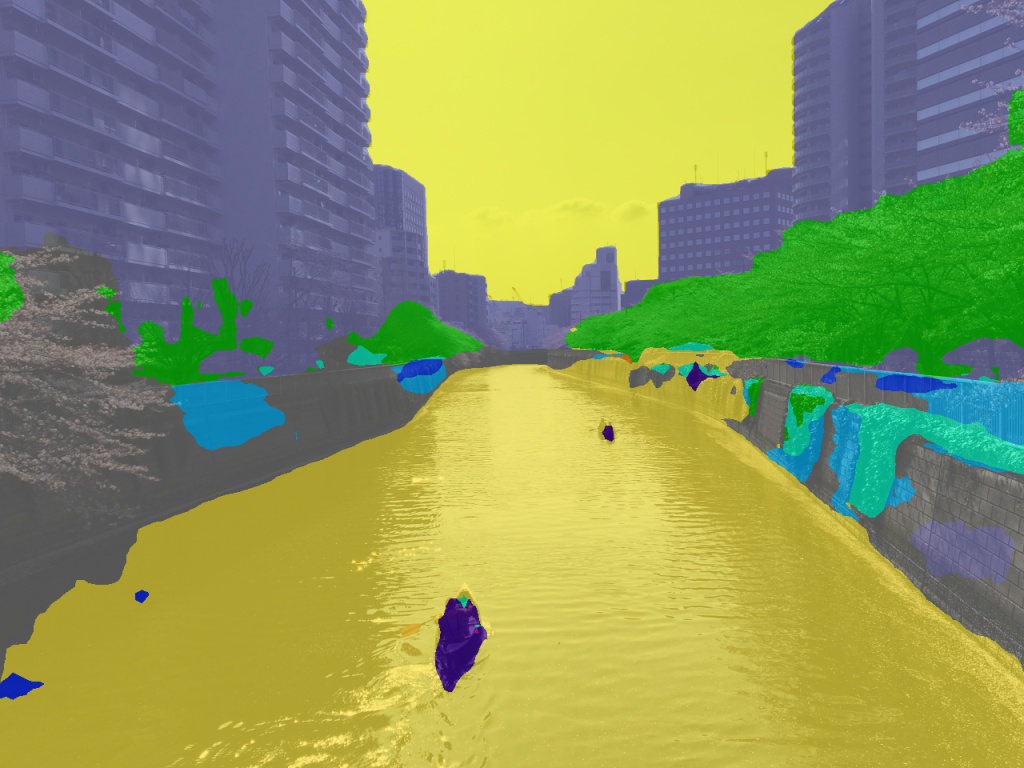
| Source | YoloV2(Object Detection) | FCN(Semantic Segmentation) |
|---|---|---|
 | 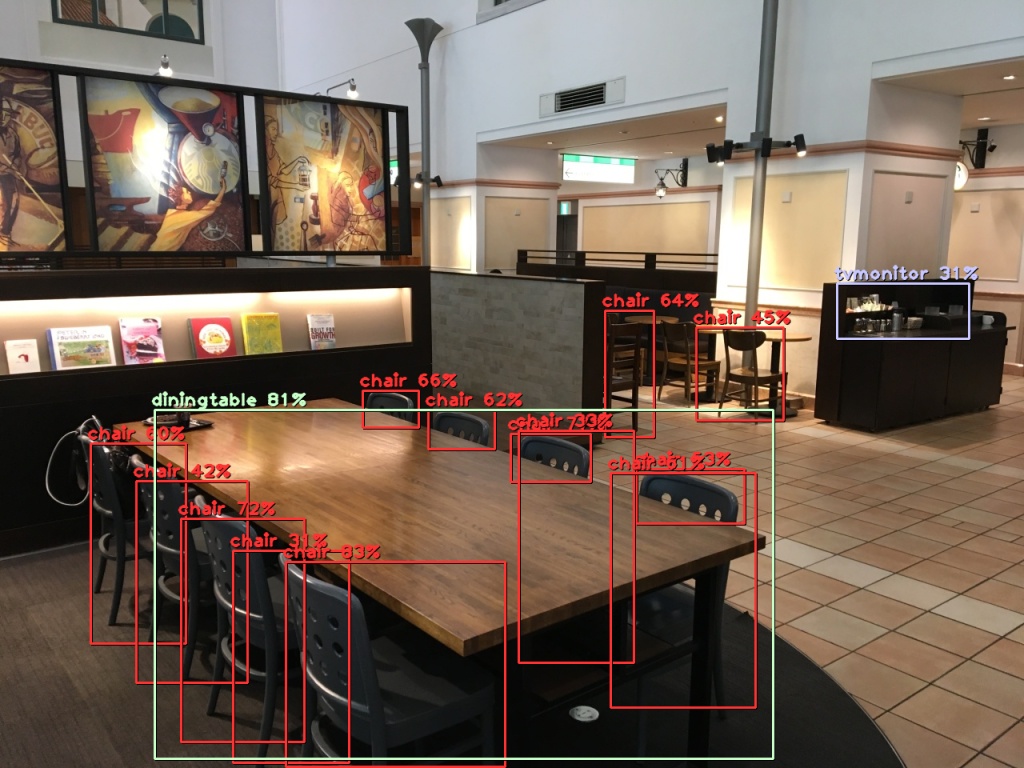 | 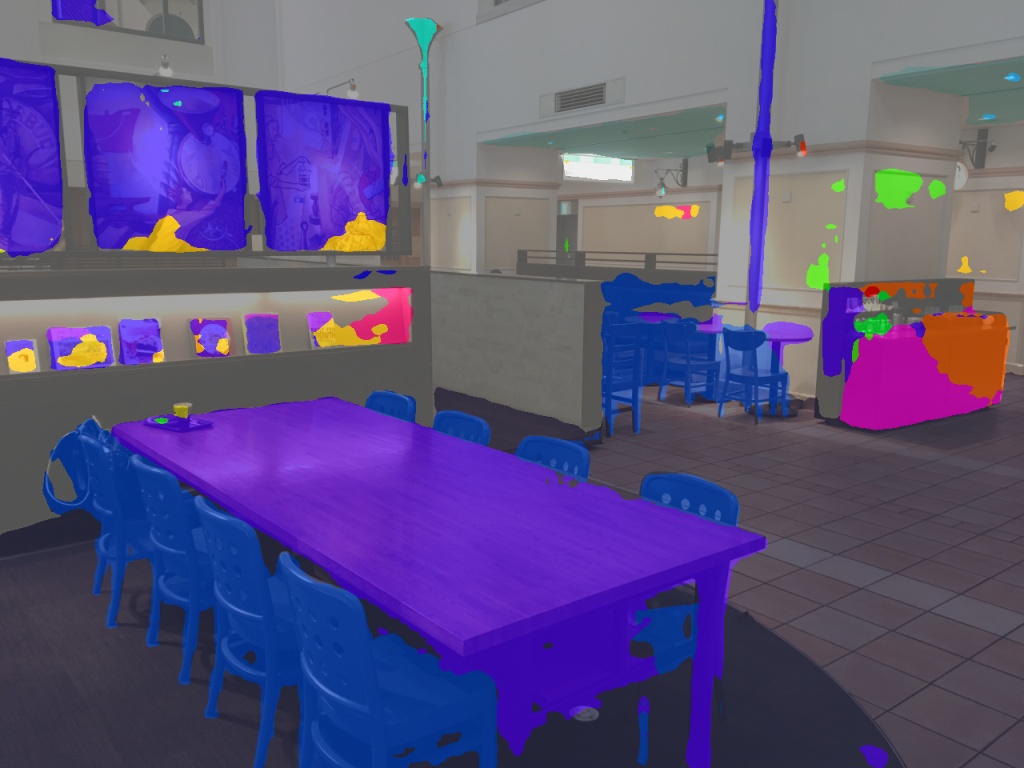 |
The field of semantic segmentation has many popular networks, including U-Net (2015), FCN (2015), PSPNet (2017), and others. In this study, we used an AMD Radeon GPU to run these networks.
We used ROCm-TensorFlow 1.3 and ROCm 1.7.137 as our operating framework.
*We re-used the source code from the following repository. hellochick
https://github.com/hellochick/semantic-segmentation-tensorflow
Setup TensorFlow 1.3 on an AMD Radeon GPU
HIP-TensorFLow 1.0.1 was recently updated to TensorFlow 1.3, with HIP being removed and made into its own repository at the same time. As a result, the old HIP-TensorFlow repository is no longer viewable.
https://github.com/ROCmSoftwarePlatform/hiptensorflow
We were unsure what to call the new TensorFlow, so we settled on ROCm-TensorFlow. https://github.com/ROCmSoftwarePlatform/tensorflow
The following commands allow one to easily build ROCm-TensorFlow 1.3 in Python3. This includes OpenCV 3.3.0, video codecs, and Cython or Pillow images.
curl -sL http://install.aieatr.com/setup_rocm_tensorflow_p3
[Ubuntu16.04]
Semantic Segmentation
git clone https://github.com/hellochick/semantic-segmentation-tensorflow
This retrieves the FCN finalized learning model as written in the git repository Readme. Google Drive - FCN(fcn.npy)
It is installed as semantic-segmentation-tensorflow/model/fcn.npy.
For PSPNet, semantic-segmentation-tensorflow/model/pspnet50.npy.
For ICNet, it is installed under cityspaces as semantic-segmentation-tensorflow/model/cityscapes/icnet.npy.
Execution
Test images are included under semantic-segmentation-tensorflow/input and can be designated with the FCN model and executed.
python3 inference.py --model fcn --img-path input/indoor_1.jpg
The output is below. semantic-segmentation-tensorflow/output/fcn_indoor_1.jpg
To use ICNet, which is good for real-time output, set it up as follows.
python3 inference.py --model icnet --img-path input/indoor_1.jpg
To process images taken by a camera in real time, the contents of model.load(path) need to be rewritten, so open the semantic-segmentation-tensorflow/tools.py file.
def load_img(img_path):
    if os.path.isfile(img_path):
        print('successful load img: {0}'.format(img_path))
    else:
        print('not found file: {0}'.format(img_path))
        sys.exit(0)

    filename = img_path.split('/')[-1]
    img = misc.imread(img_path, mode='RGB')

    return img, filename
Modifying the above files as follows will allow numpy format to be received.
def load_img(img_path):
    if type(np.array(img_path)).__module__ == np.__name__:
        return img_path, "np"
    if os.path.isfile(img_path):
        print('successful load img: {0}'.format(img_path))
    else:
        print('not found file: {0}'.format(img_path))
        sys.exit(0)

    filename = img_path.split('/')[-1]
    img = misc.imread(img_path, mode='RGB')

    return img, filename
Making the below source into main.py and executing it will allow real-time output from a camera. However, the Camera device, desktop environment, and OpenCV 3.3.0 must all be present.
import tensorflow as tf
from model import FCN8s, PSPNet50, ICNet, ENet
import cv2
import time
import sys
import numpy as np

# Parameters
model_name = 'icnet'
camera_num = 0
model_table = {}
model_table['icnet']    = {"module":ICNet,      "path":"model/icnet.npy"}
model_table['fcn']      = {"module":FCN8s,      "path":"model/fcn.npy"}
model_table['pspnet']   = {"module":PSPNet50,   "path":"model/pspnet50.npy"}
if len(sys.argv) == 2: model_name = sys.argv[1]

print("Open TensorFlow session and initialize")
sess = tf.Session()
init = tf.global_variables_initializer()
sess.run(init)


print("Selected model => " + model_name)
param = model_table[model_name]
model = param['module']()
model.load(param['path'], sess)

print("Start camera")
cap = cv2.VideoCapture(camera_num)
print("Initialized capture device.")
while cap.isOpened():
    check, frame = cap.read()
    print(check)
    if check:
        left    = frame.copy()
        right   = frame.copy()

        model.read_input(left)
        print("Input")
        left = model.forward(sess)[0]
        print("Forward")

        left = cv2.resize(left,(frame.shape[1],frame.shape[0]))
        left += left
        left += right
        left /= 3
        left = cv2.resize(left,(2*left.shape[1],2*left.shape[0]))
        left = np.array(left, dtype = 'uint8')
        cv2.imshow(model_name,left)
        cv2.waitKey(1)
        print("Show")
For semantic segmentation, creating the teaching data is difficult, but thankfully most networks are simpler than in object detection.
| Source | YoloV2(Object Detection) | FCN(Semantic Segmentation) |
|---|---|---|
 | 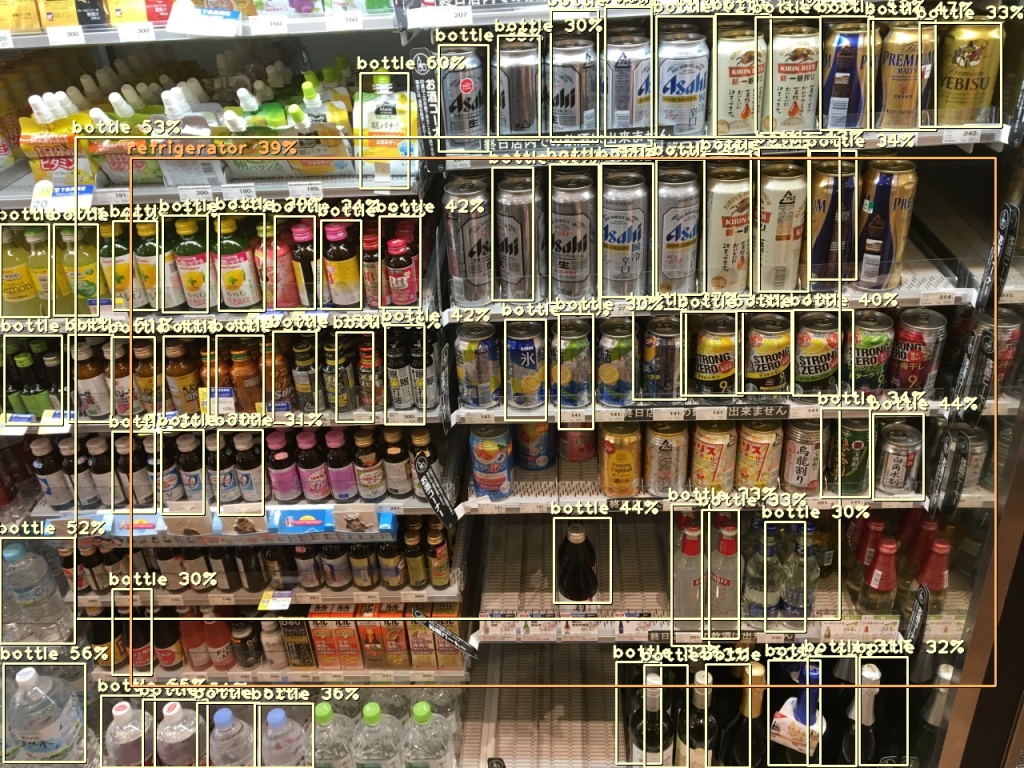 | 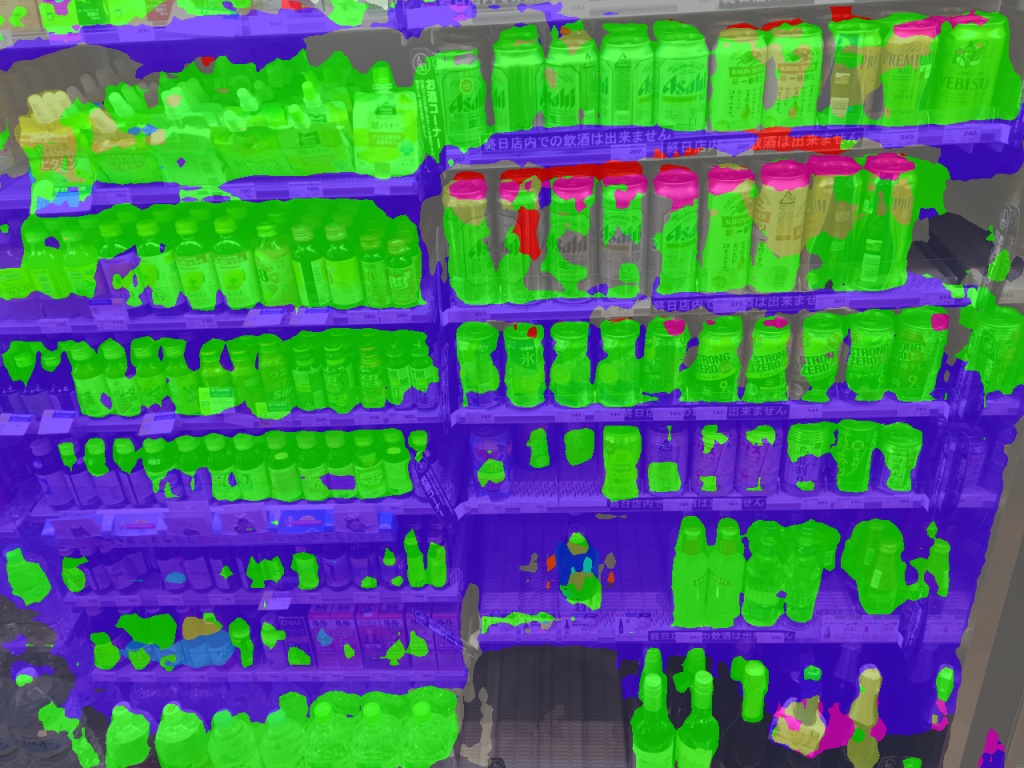 |
| Source | YoloV2(Object Detection) | FCN(Semantic Segmentation) |
|---|---|---|
 | 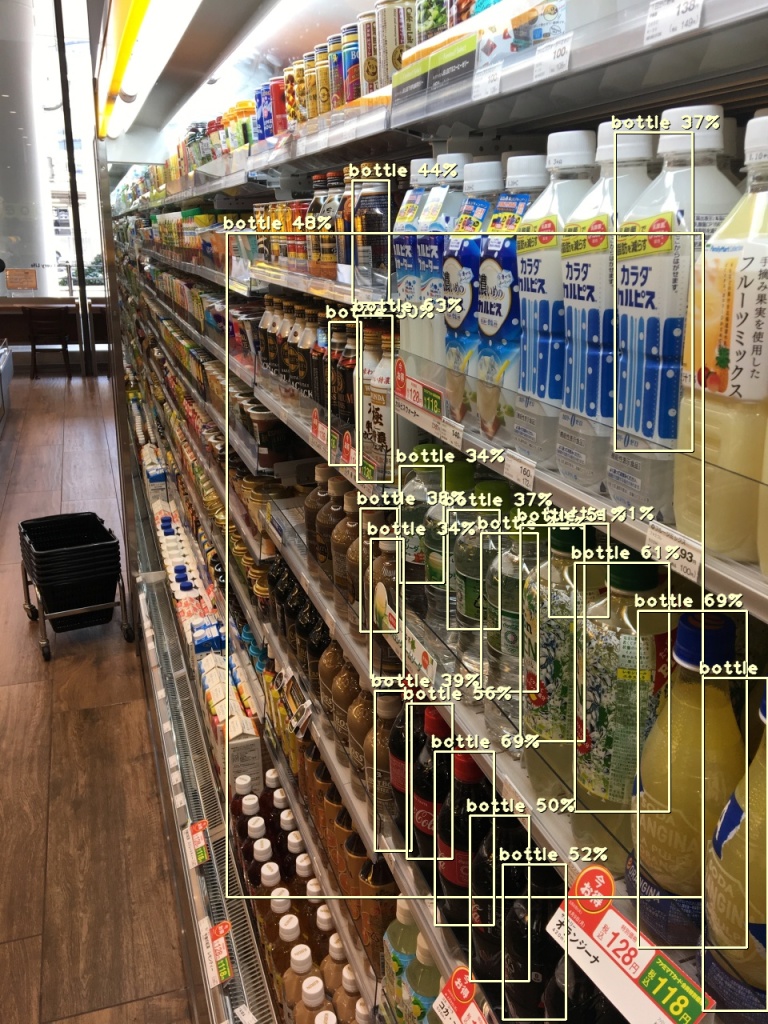 | 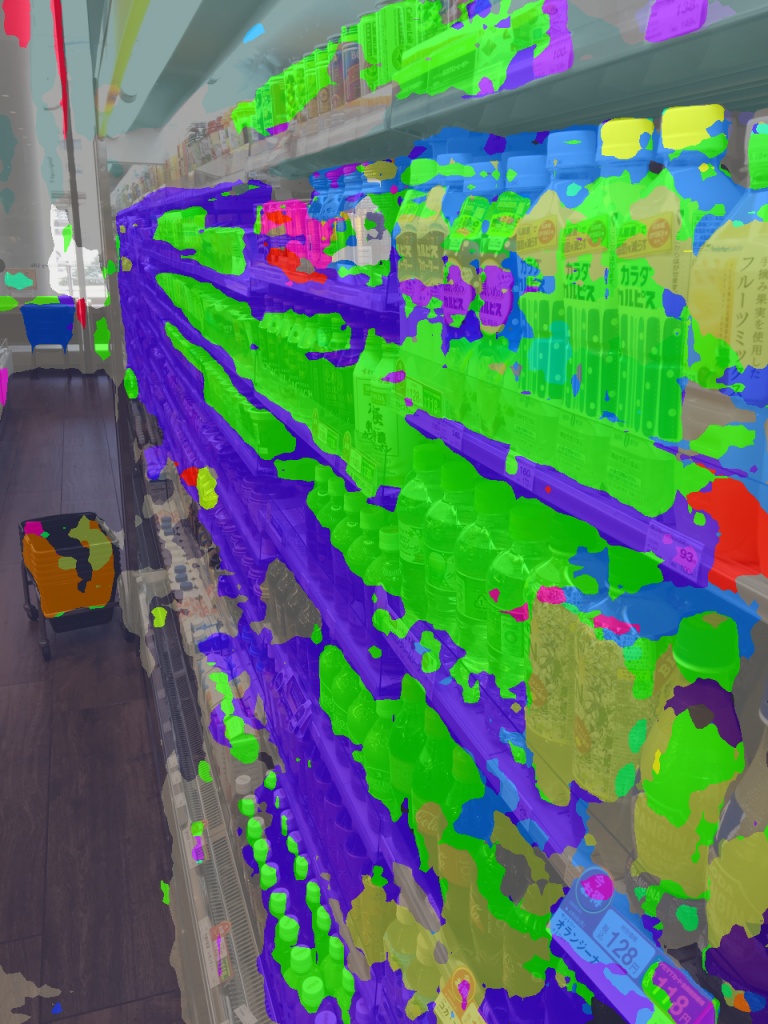 |
| Source | YoloV2(Object Detection) | FCN(Semantic Segmentation) |
|---|---|---|
 |  |  |
References
- ROCm-TensorFlow https://github.com/ROCmSoftwarePlatform/tensorflow
- ROCm https://github.com/RadeonOpenCompute/ROCm
- MIOpen https://gpuopen.com/compute-product/miopen/
- GPUEater https://www.gpueater.com/help#hiptensorflow
- OpenCV https://github.com/opencv
- hellochick repos https://github.com/hellochick/semantic-segmentation-tensorflow
Are you interested in working with us?
We are actively looking for new members for developing and improving GPUEater cloud platform. For more information, please check here.
GPU EATER - AMD GPU-based Deep Learning Cloud
- Cloud
- GPU
- AMD
- ROCm
- DeepLearning
- TensorFlow
- HIP-TensorFlow
- FCN
- ICNET
- PSPNet
- Semantic Segmentation
- Image Recognition